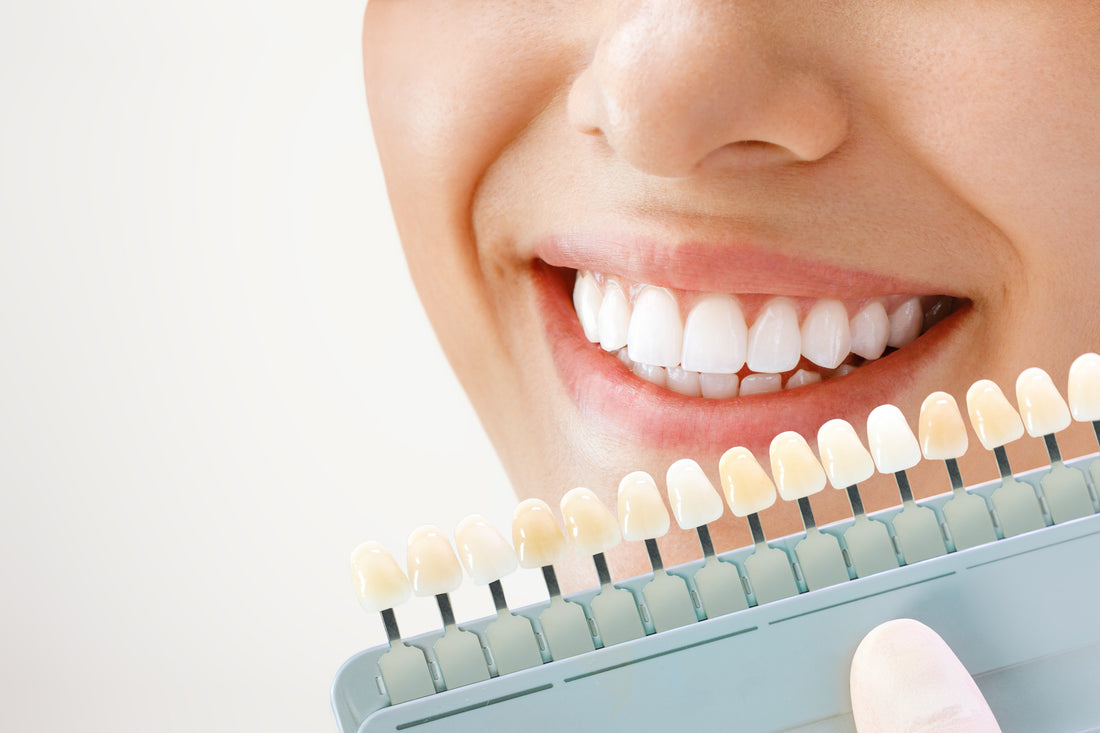
I began practicing dentistry in 1975 - at that time I had just graduated with my DDS degree from UCLA and was eager to make my mark as a dentist. I worked a double shift at a dental clinic near the corner of Hollywood and Vine (about as unglamorous an intersection as you will ever find, especially when seeing emergency patients at 10:30 pm) and at a clinic near CBS Television City (where I once fixed the cracked denture of a famous Vaudevillian who was appearing across the street). Everybody loves a bright white smile, and there are many different procedures available to help you improve the look of yours. At any rate, it really didn't matter at which socioeconomic level my patients came from. This was Los Angeles; everyone was very image conscious about their smiles. Back in the 70's, cosmetic dentistry meant using "Pearl Drops" toothpaste. A lot has changed in the past 28 years, and especially in the last 10 years in the field of teeth whitening, both in the dental office and at home.
Two Methods For Teeth Whitening
*1st method: Dental (In-Office) Teeth Whitening is effective, but can be a time consuming and expensive procedure. I can tell you from first-hand experience, dentists love the patient who wants his or her teeth bleached in the dental office. Back in the early '90's, there was only one option! Your dentist would make molds of your teeth, send them off to a lab, and in 5-10 days receive back your custom fitted mouthpiece. Then you would sit in the dental chair for 1-2 hours, with these plastic molds filled with peroxide (at a very low concentration) pressed against your teeth and gums. After 3-4 visits, you teeth would be officially declared whiter (and usually they were), and you would be sent home with a nice, fat $500 - $1,000 bill to pay. With whiter teeth of course. Now, I'll be the first to admit, dental office whitening has come a long way in the past 10 years. Now, the most popular dental whitening procedure known as laser bleaching (or power bleaching, argon bleaching, etc.) which basically consists of the application of a concentrated peroxide gel spread onto your teeth, and for the next hour you sit in a dental chair with your mouth wide open, while a special light (usually argon) is shined onto the paste which chemically reacts with the peroxide to complete the bleaching process in as short a time period as possible. This procedure does work (although many dentists say that you get a whiter smile by repeated tray applications because the peroxide stays in contact with your teeth for longer periods of time); however, the downside is that you still get stuck with that fat $500 - $1,000 bill (at least for the good dental whitening!). Furthermore, you still need to either come back 6 months later for another whitening (excuse me - a touch up!), or you're given some take home bleaching items (then, why did you spend $500-$1000 dollars for the in-office procedure?) Fortunately (as with most other things in life), technology stepped in to make teeth whitening easier and more affordable! *2nd method: Home Teeth Whitening is now as effective as dental office treatments, in addition to being less expensive and more convenient. It's now possible (in almost all cases) to achieve dental office quality teeth whitening, from the comfort of your own home. At-Home teeth whitening and bleaching has taken a bite out of (sorry about the pun) the in-office power bleaching systems, where millions of corporate advertising dollars now compete with the comfort of doing it at home. And rightly so... Up until a few years ago, teeth whitening was a fairly complex process - the hard part was making those fitted mouthpieces for each patient. For this reason alone, home teeth whitening was not an option for most people. Essentially, There Are 3 Different Types of Home Teeth Whitening Available: Brush-on whitening Strips you stick on your teeth Trays with bleaching gels *1st Type: Brush-on Whitening Brush-on whitening in principal is a great concept. Just brush on the formula, allow it to dry on your teeth, and let it stay on your teeth overnight. Sounds simple, right? In reality, brush-on whitening is designed for the segment of the public that is in love with shortcuts. (In other words, for those people who don't want to spend the time to do it right the first time). Why doesn't Brush-on Whitening work? Brush-on Whitening has Two Main Flaws: Flaw 1: When you brush on the formula, it relies on the premise that it will dry on your teeth. This is great in principle, but if you get the formula wet (i.e. from saliva) then it becomes REALLY easy to rub off parts of the whitening formulas. Guess what happens if you rub off only part of the whitening formula? You got it - you don't get an even whitening result! It turns out patchy, and blotchy. It reminds me of the time I painted our first apartment...don't ask! Flaw 2: The second flaw with most brush-on whitening, in my opinion, is the ingredients. If you look at the ingredient list of the leading brush on whitener, you'll see the first ingredient is alcohol - and if you've read my free ebook, The Bad Breath Bible, then you already know that alcohol is terrible for your breath! Actually, I'm sure the reason why they've added alcohol to their formula is because it's needed as a desiccant (something that dries out the formula so that it supposedly stays on your teeth at night); however, that still doesn't diminish the effect it can have on your gums and your breath. Also, most of these brush-on whitening formulas contain glycerin, which literally sucks the moisture out from the enamel of your teeth and is the primary cause of most tooth sensitivity from whitening. *2nd Type: Teeth Whitening Strips The second most common type of home teeth whitening is using whitening strips. The main lure of this type of home teeth whitening is their simplicity of use. They're easy to apply and no preparation is necessary. Again, everybody loves shortcuts, right? Unfortunately, once again that's exactly the type of teeth whitening you end up getting! Let me explain... Why don't Teeth Whitening Strips work? Strips that stick on your teeth usually consist of an upper strip and a lower strip each pressed against the outer surface of your teeth. Now think about this for a second...are your teeth completely flat? Of course not - they have recesses and grooves, particularly between each tooth. Well imagine you're painting a fence, and you just slapped paint on the outside, without taking the time to paint the grooves between each wooden board. That fence would look pretty funny wouldn't it? Nicely painted on the outside, but in the grooves between each wooden board, still dark and dingy, with all of the old paint showing. When you use whitening strips, the same thing can easily happen to your teeth if you're not careful. The whiter your teeth become, the more pronounced those dingy cracks seem! Eventually it can end up looking like you have small gaps between your teeth. Definitely not the desired result! *3rd Type: Trays With Bleaching Gels (MOST EFFECTIVE!) Trays with bleaching gels still provide the best combination of the most affordable and most efficient tooth whitening available. Since I'm a dentist, I can let you in on a few little secrets here. First, most of the bleaching gels available at your dentist are exactly the same. There is very little difference from one dentist to another, because the gels are formulated by a small number of manufacturers. Second, most of the bleaching gels available at retail stores are of very poor quality. They've been sitting in a warehouse or on a truck for who knows how long - and, because they are designed to be "low cost" (with low cost being sometimes the only consideration), they have very low concentrations of active ingredients. Make sure you use a bleaching gel with a concentration of at least 21% - this means a whiter result in a shorter period of time!
Third, the one thing in common between dental bleaching gels and store gels is that they both use glycerin as a carrying agent. Now there is nothing wrong with glycerin; it is not dangerous in any way. However, when mixed with carbamide peroxide the glycerin is used to draw water out of the enamel in order to speed up the bleaching process. This is what causes the most common side effect of bleaching - sensitive teeth! (By the way, my TheraBrite Formula Whitening Kits don't use a glycerin base - that's just one reason why it's so unique.)
Armed With This New Knowledge, What Should You Do?
Well, there are 4 KEY COMPONENTS to making sure you get the best possible tooth whitening every time you whiten your teeth.
- Immediately before bleaching, brush your teeth with an oxygenating toothpaste combined with the finest natural polishing agents AND aloe vera to strengthen your gums and prevent any sensitivity.
- Use form-fitting mouth trays that are fitted to your specific bite. Make sure they fit snugly around each tooth, and at all points they press firmly around the sides of your teeth and gums.
- Use a 21% concentrated bleaching gel based on carbamide peroxide that is formulated specifically to reduce the sensitivity to your teeth and gums. (In other words - no glycerin!)
- Immediately after bleaching, enhance the effect by using an oxygenating oral rinse. Make sure to use a mouthwash without alcohol as this can actually chemically curtail the bleaching effect.
The TheraBrite Deluxe Home Whitening Kit
The TheraBrite Whitening System is one of the most effective home whitening systems. It uses a moldable tray system that contains mouthpieces which you can actually fit to your mouth. You mold them by soaking them for a few seconds in warm water, then you press the plastic up (or down) against your teeth and gums. When the plastic cools you have a nice soft plastic mouthpiece that is fitted to the curves of your particular smile.
TheraBrite PLUS oxygenating formula safely whitens your teeth with the power of oyygen (OXYD-8)!
To make sure your teeth are as clean as a whistle, and to make sure that the TheraBrite bleaching gel directly contacts your tooth enamel (instead of dental plaque), brush your teeth for two minutes with an oxygenating toothpaste immediately before bleaching. You should use as strong of a bleaching gel as possible to ensure that the time your teeth are in contact with the whitening gel is well spent. The older gels used 16% carbamide peroxide, but the newer gels, like TheraBrite Whitening, can be as high as 22% peroxide. However, it's imperative that the gel does not contain any glycerin to reduce any sensitivity the whitening gel may have on your teeth and gums. A flavored bleaching gel also helps - why not make the experience as pleasant as possible? No need for it to taste bad!
The TheraBrite PLUS Deluxe Whitening Kit is the most effective home-whitening available. The Thermoplastic mouthgards mold to the contours of your teeth and gums, while the 21%+ Carbamide Peroxide Gel delivers the fastest home whitening available.
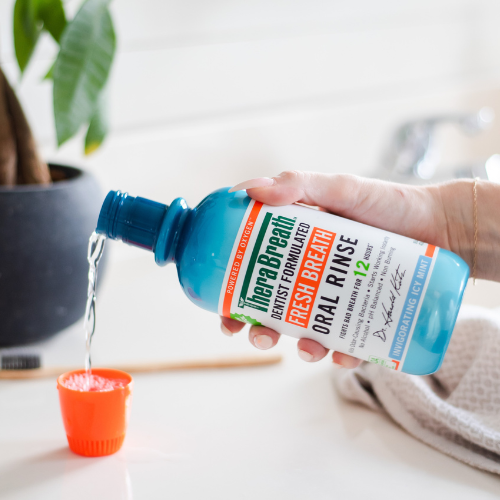
After your TheraBrite At-Home Bleaching session, it is very wise to rinse thoroughly with an oxygenating mouthwash to prolong the effect (an alcohol-based mouthwash will chemically curtail the bleaching process).
Follow this procedure 5 days in a row, doing the top and bottom arch separately for comfort (you can try to do both at once if you prefer - I actually do it this way, but everyone is different), and you will have a noticeably whiter smile - guaranteed!